6.1. Create a workflow
This tutorial will demonstrate how to create a new workflow.
- Go to Management / Workflows
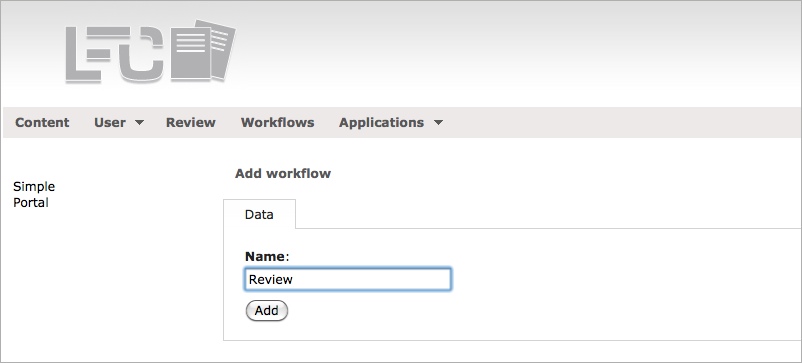
- Click on the Add workflow button.
Note
If there is no workflow yet you will redirected automatically to the workflow add form.
- Enter the unique name for the new workflow, e.g. Review.
- Click on the add button.
- Select the permissions for which the workflow should be responsible. (Later you will set these permissions within every state) and click on the Save workflow button.

Now you will input the states of the workflow.
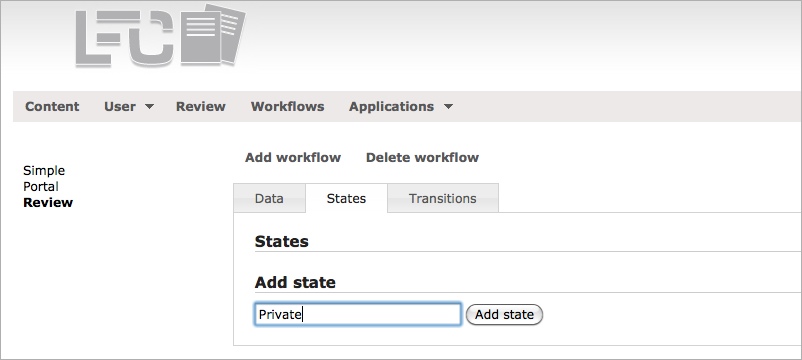
- Go to the States tab.
- Enter Private into the text input field and click on Add state.
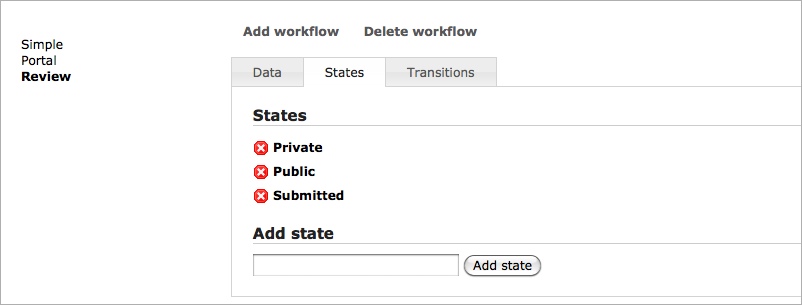
- Repeat step 8 with Submitted and Public. Afterwards you should have three states as displayed in the image below.
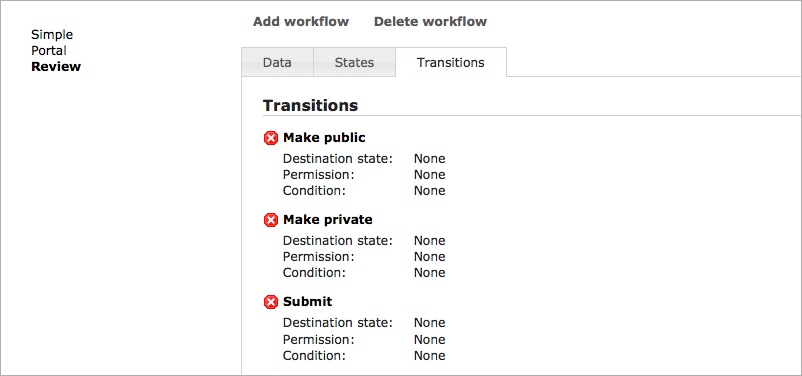
Now you will input the transitions of the workflow.
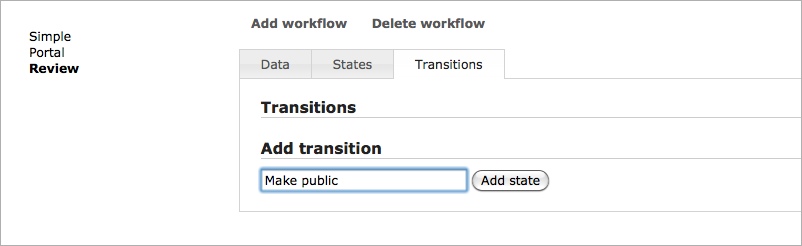
- Go to the Transitions tab.
- Enter Make public into the text input field and click on Add transition tab.
- Repeat step 10 for Make private and Submit. Afterwards you should have three transitions as displayed in the image below.
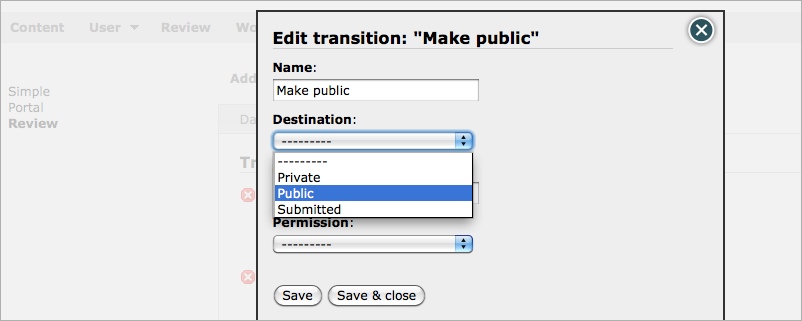
Now you will assign the destination states for the transitions.
- Click on the Make public transition.
- Within the edit dialog, select Public as destination state and click on Save & Close.
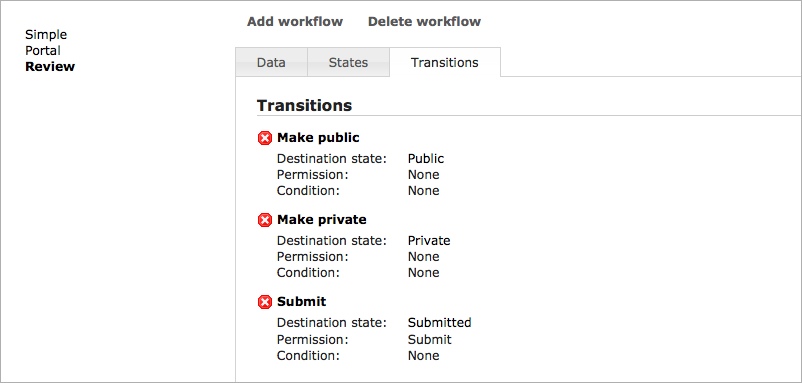
No do the same for the other transitions:
- Click on the Make private transition.
- Within the edit dialog, select Private as destination state and click on Save & Close.
- Click on the Submit transition.
- Within the edit dialog, select Submitted as destination state, and Submit as Permission and click on Save & Close.
After you have done this, your transitions should look like this.
No you will assign the transitions to the states.
- Go to the States tab.
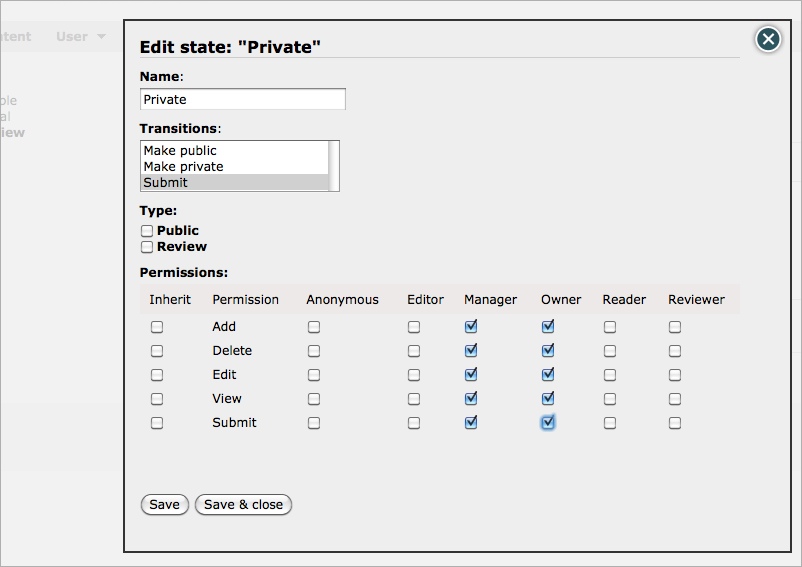
- Click on the Private state.
- Within the edit dialog, select the Submit transition (you could of course select more transitions if appropriate).
- Select the appropriate permissions for that state (see image below).
- Click on the Save & Close button.
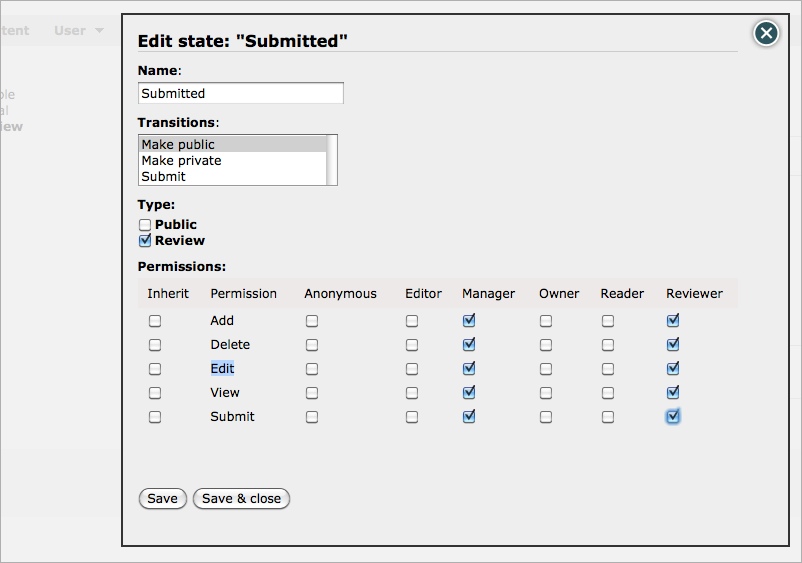
- Click on the Submitted state.
- Within the edit dialog, select the Make public transition (you could of course select more transitions if appropriate).
- Check Review as type. This means that objects with this state will be listed on the to reviewed objects list.
- Select the appropriate permissions for that state.
- Click on the Save & Close button.
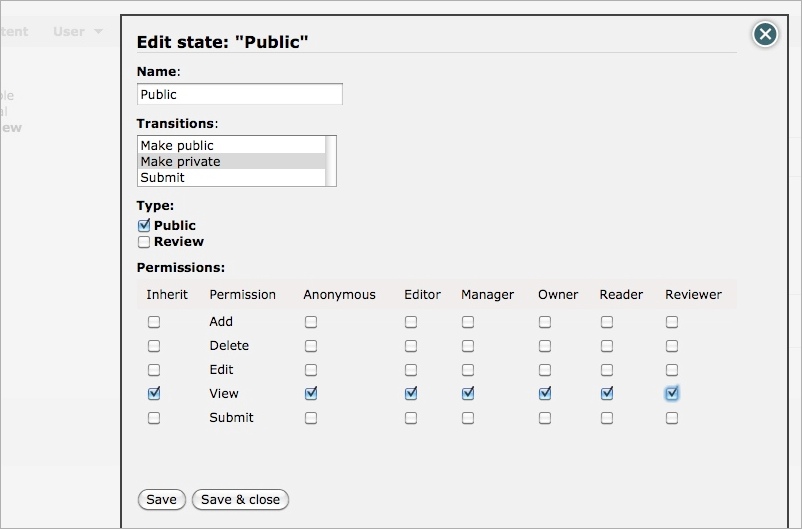
- Click on the Public state.
- Within the edit dialog, select the Make private transition (you could of course select more transitions if appropriate).
- Check Public as type. This means that the publication state of the object will be set for the first time it gets the Public state.
- Select the appropriate permissions for that state (see image below).
- Click on the Save & Close button.
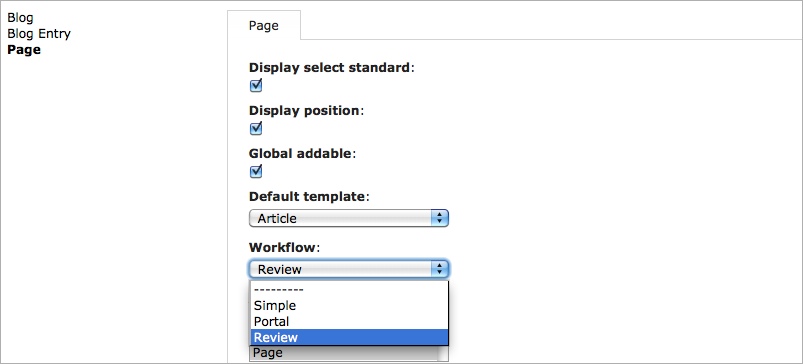
Now you will assign your newly workflow to a content type.
- Go to Management / Applications / Content Types
- Select Page
- Select the Review workflow and click on the Save content type button.
Contratulations!
You have now created a new workflow and has assigned it to the Page content type.
See also